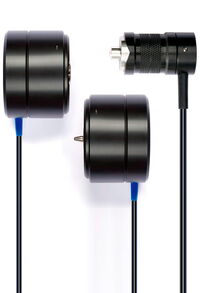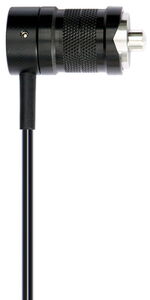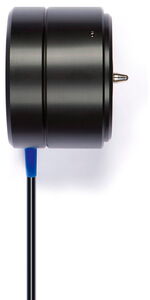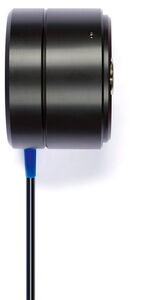
Steel mesh probes
For measurements on steel mesh you can choose between six different models. The probes will be used together with Surfix® Pro S-CT for both, measurement of car tyres and measurement of steel cord conveyor belts.
Probe FN 10-1
Probe for measurement of rubber thickness on car tyres with a measurement range from 0 – 6,5 mm. Only for measurements on car tyres with steel mesh.
Probe F 10-2
Probe for measurement of the rubber thickness inside beneath the tread up to the steel mesh. Measurement range from 0 – 6,5 mm. Only for measurements on car tyres with steel mesh.
Probe F 10-3
Probe for the measurement of rubber thickness on the bead up to the steel mesh. Measurement range from 0 – 6,5 mm. Only for measurements on car tyres with steel mesh.
Probe F 10-CP
Probe for measurement of total rubber thickness of the side wall with fabric carcass. Measurement range from 0 – 10 mm. Only for measurement of tyres with fabric carcass.
Probe F 30-T
Probe for measurement of the rubber thickness on the running surface up to the steel mesh and of the under-tread thickness in the grooves of the tread. Measurement range from 0 – 30 mm for running surface and 2-10 mm for grooves of the tread. Only for measurements on car tyres with steel mesh.
Probe F 30-C
Probe for measuring the rubber thickness on the track and support side of steel cord conveyor belts. Particularly suitable for easy measurement without time-consuming interruption of the conveyor operation. Measurement range between 0 - 20 mm.
Special probes at a glance:
| F 10-1 / 11006 | F 10-2 / 11007 | F 10-3 / 11008 | F 10-CP / 11060 | F 30-T / 11002 | F 30-C / 11126 | |
| Application area | Side wall | Tread inside | Tyre bead | Sidewall | Tread outside | Steel cord conveyor belts |
| Measurement range | 0 - 6,5 mm | 0 - 6,5 mm | 0 - 6.5 mm | 0 - 10 mm | Running surface: 0 - 30 mm Measurement range undertread: 2-10 mm |
0 - 20 mm |
| Accuracy with zero calibration | +/– (0,1 mm + 5 %) | +/– (0,1 mm + 5 %) | +/– (0,05 mm + 5 %) | +/– (0,01 mm + 5 %) | +/– (0,2 mm + 5 %) | +/– (0,2 mm + 5 %) |
| Accuracy with foil calibration | +/– (0,1 mm + 3 %) | +/– (0,1 mm + 3 %) | +/– (0,05 mm + 3 %) | +/– (0,01 mm + 3 %) | +/– (0,2 mm + 3 %) | +/– (0,2 mm + 3 %) |
| Temperature range | 0 °C to 60 °C | 0 °C to 60 °C | 0 °C to 60 °C | 0 °C to 60 °C | 0 °C to 60 °C | 0 °C to 60 °C |
| Dimensions | Ø 25 mm x 47 mm | Ø 25 mm x 47 mm | Ø 25 mm x 47 mm | Ø 25 mm x 47 mm | Ø 75 mm x 55 mm | Ø 75 mm x 55 mm |
| Weight | ca. 85 g | ca. 85 g | ca. 85 g | ca. 85 g | ca. 400 g | ca. 400 g |
Download prospect flyers
A detailed brochure with all the technical data can be found here:
| Probes German | Probes English |


